Showing posts with label Melon Mambo. Show all posts

Monday, May 13, 2013

Secret Garden

My mother-in-law loves to garden. She's even won awards for her flower gardens. So a Mother's Day card for her using the Secret Garden stamp set was perfect!
After stamping the leafy image twice in Pear Pizzazz ink, I die cut the leaves with the Secret Garden Framelits, and adhered them to my Island Indigo card base. Over those leaves, I added a strip of the new Gingham Garden DSP (look for this pretty paper in the upcoming catalog) down the center of the card. 
Onto Very Vanilla card stock, I stamped one flower in Melon Mambo ink, and another flower in Daffodil Delight ink. After using a Blender Pen to color the flowers, I die cut both of them with the Secret Garden Framelits. My sentiment is also from an upcoming new-cattie product --- Banner Greetings (a new Hostess stamp set)

I wish I had even 10% of my mother-in-law's green thumb. Unfortunately, plants don't survive long around me. Perhaps that's why I make so many flowers out of paper... 


Pin It!

Saturday, May 11, 2013

Teacher Appreciation Week - Friday

Whew! I made it... five gifts (well, ten since they're for two different teachers) in five days. See the smoke coming from my paper trimmer?   ;) 
All of the gifts were fun to make, and the teachers deserve them very much! Both of my boys have talented, kind, helpful teachers. We are so blessed! 
I'm not sure how I will live without the Fancy Favor Bigz XL die. I was actually shocked to find this "go-to" Big Shot die on the Retiring List. Well, I won't exactly be "living without"... it will go into my vault!
Anywho, I assembled the Fancy Favor box to hold gardening gloves and seed packets. The largest flower (Mixed Bunch) is stamped in Melon Mambo ink onto Twitterpated DSP and punched out with the Blossom punch. The other two flowers (Fruit & Flowers) are also stamped in Melon Mambo ink; one onto Blushing Bride card stock, and the other onto Whisper White card stock. 
I've seen the sentiment "thanks for helping me grow" added to a nice flowering plant. That would have been a super gift, but as I mentioned in the other "teacher appreciation gift" posts, the boys are the delivery service for all of these. And they ride the bus to school, for about twelve entire minutes. Boys can do lots of things in twelve minutes! Can't you just picture the dirt trail from their bus seat, down the steps, into the school, down the hallway... Ummm yeah, seeds work just as well with this sentiment. I created the sentiment using My Digital Studio, and then trimmed it to fit. Easy peasy! To make sure it all arrived inside the Fancy Favor box, I slipped the gifts into Gusseted Cellophane Bags and tied them closed with Melon Mambo Scallop Dots Ribbon.

And now... the conclusion to Aaron's animal alphabet book! I hope you found some inspiration for your classroom and/or punch art creations in this book.


Pin It!

Wednesday, May 8, 2013

Teacher Appreciation Week - Wednesday

While making the teacher appreciation gift packaging for the Wednesday gift, I stumbled across a really nice color combination: Basic Black, Melon Mambo, and Soft Sky. Yowza! These colors are great together!! 
Everyone can use a fun clip-on scent holder for the car, right?? The bags are tied closed with Melon Mambo Scallop Dots ribbon. Then I used 1/8" Basic Black Taffeta ribbon to tie on the tag. 
For the tag, I started by stamping (Forever with You) in black StazOn®, and die cutting the image with the Window Frames Framelits. Then I adhered a strip of Melon Mambo card stock. After punching out a layer of Soft Sky card stock with the Decorative Label punch, I wrote my greeting, and attached it to the tag with Dimensionals. A single rhinestone adds just the right amount of "bling." 

For those of you following Aaron's animal alphabet book pages, here are a few more for your classroom and/or punch art inspiration...  


Pin It!

Friday, November 16, 2012

a simple card sketch - four ways!

Sometimes I like to give the creative side of my brain a little kick... either to get things started or to get my creativity to move in a different direction. I like to read paper crafting magazines, look through the photo gallery in Stampin' Up!'s online forum for demonstrators, and browse blogs. Earlier this week, a card sketch on the Clean & Simple blog caught my eye. I liked it so much, that I made quite a variety of projects using the same sketch. Today I'm sharing three cards and a  gift tag, all inspired by the sketch.   :} 


stamp set: Curly Cute          Embossing Folder: Lacy Brocade

stamp sets: Merry Minis, Tiny Tags 

Creating the scalloped-edge rectangle was super easy! Using the Scallop Squares Duo Bigz Die, I simply die-cut two of each square. For the card fronts, I adhered the larger squares together with five scallops overlapping. For the tag, the smaller squares are adhered together with three scallops overlapping. 
Speaking of die-cutting, have you ever wished you could see all of Stampin' Up!'s products for the Big Shot in one place??? Your wish has been granted!  :}  

Don't have the Big Shot (yet) but want to create those beautiful embossed textures (like on the thank-you card) with the Embossing Folders??? Another wish granted!! The Texture Boutique Embossing Machine is here! 

whew... That turned out to be quite a long post! Thanks for sticking around to the end.  Now go stamp!!  ;}


Pin It!

Tuesday, November 13, 2012

BLING!!!

Hold on to your stocking caps... I have a "wowza" card to share today. Remember last week when I told you about this cute blog I found? Well, the Cupcake Craft Challenges blog posted a sketch challenge for this week, and I love the sketch - I just had to whip up this card. 
Not my usual style, eh? But this penguin needed to play on a FUN card, with fun colors!! She's such a cute little penguin, and she picked out her Melon Mambo stocking cap all by herself!  ;}   I like all the images in the No Peeking stamp set, but she's my favorite. And have you ever seen me use so much "bling" on a card???  The Rhinestones are perfect for this one! 
I used the Northern Flurry Embossing Folder to add some texture to the die-cut Gumball Green 3-1/2" circle. My little penguin sweetheart is stamped in black StazOn® ink onto Whisper White card stock. I stamped her again in Melon Mambo ink so I could snip out the stocking cap, and then I used markers to color her scarf. 
For my sentiment, I inked the stamp in Gumball Green. Before stamping, I used a Blender Pen to remove the green ink from a few letters, and then colored them with a Melon Mambo marker.  The Extra Large Oval and Decorative Label punches are perfect for dressing up this cute greeting. 
And of course a card this fabulous needed some shimmer mist! I added a liberal dose to both the die-cut circle and the punched greeting. If you don't already have a spritz bottle filled with rubbing alcohol and a few drops of Frost White Shimmer Paint, you need to make one... now! 
Well, that's it for today, stamping friends. May you all have a wonderful day!   :} 

Pin It!

Tuesday, September 25, 2012

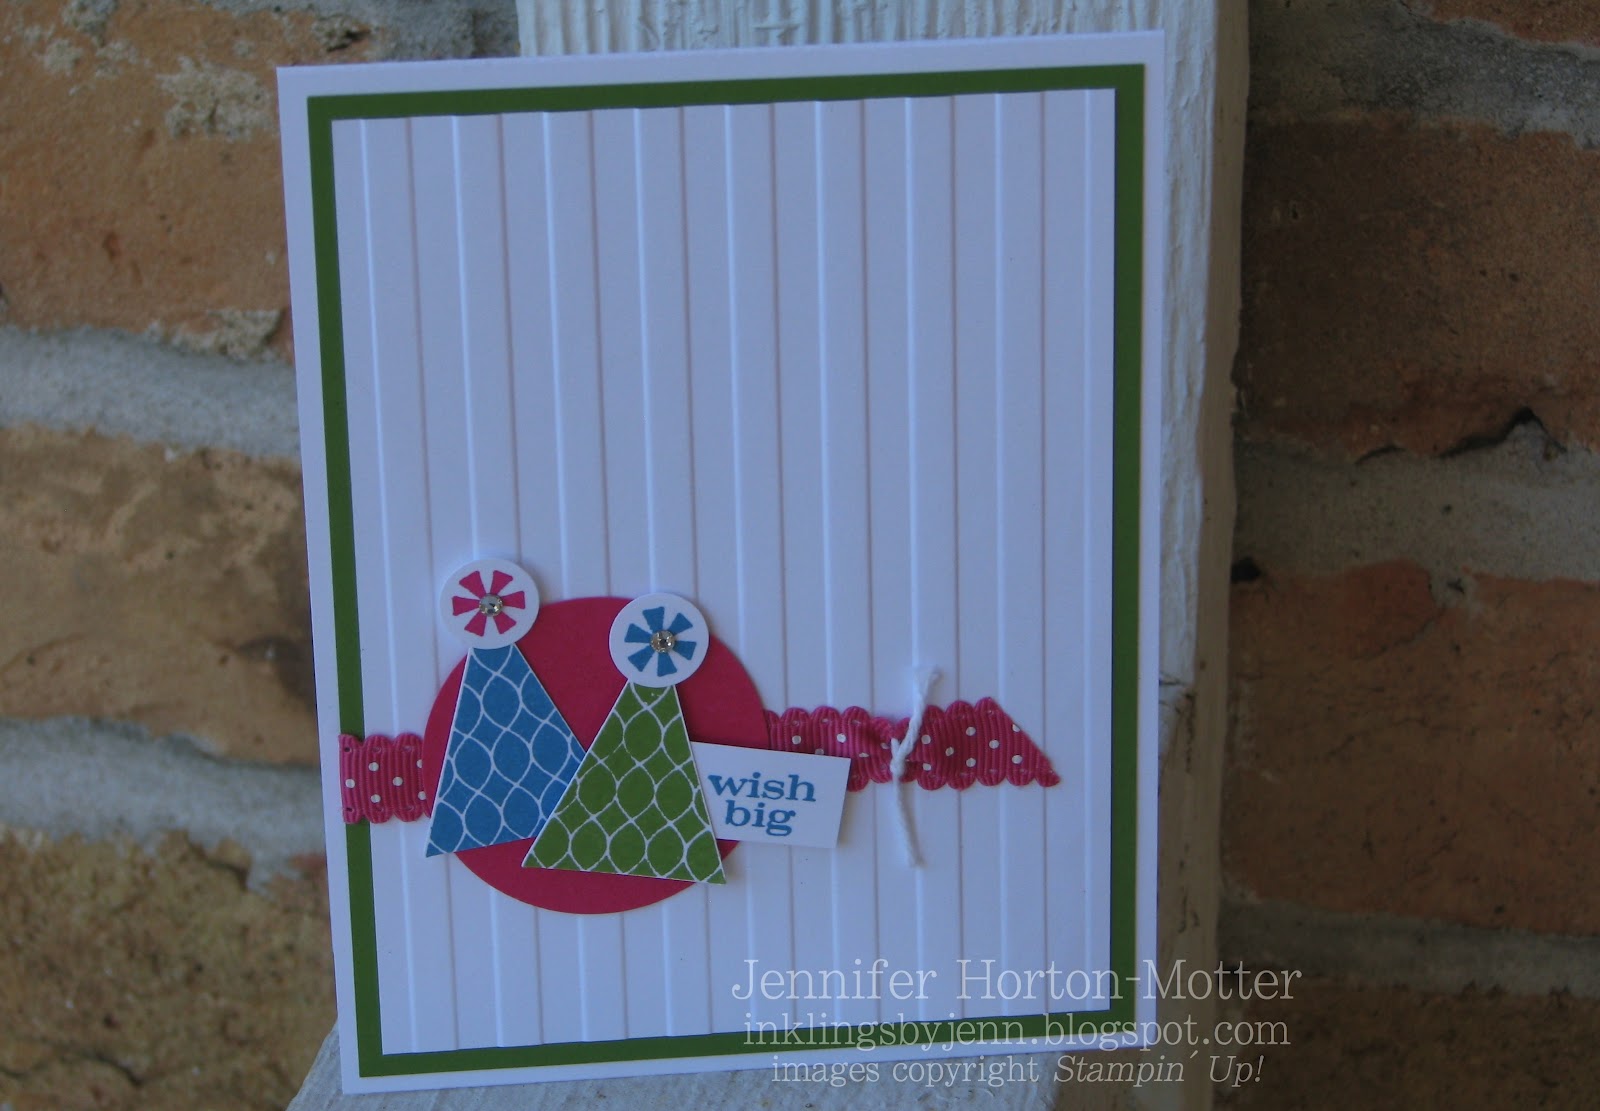
put on your Party Hat

I know you've been anxiously waiting to see another hand-stamped birthday card from my class at Wildflour Bakery  ;)  I feel like I'm getting to experience this fun class twice... the first time at the actual class, and then again by sharing them with you. I know I can count on you to "oooh" and "aaah" just like my stampers did at class time!  ;) 
I got my inspiration for this one from a card made by another demonstrator, but I can't remember where I saw it. So, to whomever gave me the starting point for this card - thanks! 
I love the layers and bright colors (Gumball Green, Pacific Point, Melon Mambo) on this card! I think that leaving a lot of Whisper White showing really helps the bright colors "pop" without being overwhelming. To add some subtle interest to the 3-3/4"x5" Whisper White layer, we dry embossed it through the Big Shot using the Stripes Embossing Folder. The images from the Pennant Parade stamp set are stinkin' cute, and the coordinating punch makes it fun and easy to use  :}
I almost used a layer of DSP behind the punched circle, but the Scallop Dots ribbon adds some more texture - which I really like! After punching out the pom-pom images, we added some tiny Rhinestones for the perfect amount of "bling"  :)
OK... one more birthday card to go, and then it's on to some Halloween projects! Oooh... aaah  ;)

Pin It!

Wednesday, May 23, 2012

Ribbon Wreath

I finally finished a project on my "really-really want-to-make" list!!! For those of you who have a 2010-2011 SU catalog handy, my inspiration comes from the ribbon wreath on p190. It's not like it takes a long time to make a ribbon wreath - I finished in a few hours. I probably would have finished sooner if I didn't take breaks to draw outside with chalk, lose a lightsaber battle, and have a snack in the shade... but those are some of the best parts of working from home  :}  It's just one of those projects that kept getting pushed to the side, but I had time today since I didn't want to get a ton of supplies out while the drywall was being sanded. For this project, all you need is a hoop, ribbon, and Craft & Paper Scissors. I have two of these high quality scissors - one for paper, and one for fabric and ribbon.
Isn't it pretty??? Since I have several miles spools of ribbon in my craft room, this is the perfect project for me! All of these ribbons are from Stampin' Up! ... some are current, some are old, some are really old. I chose a variety of pinks, yellows, oranges, and greens for a bright, summery look.

I started with a hoop (approximately 13" diameter) that I purchased from my local craft store (I think I found it in the same aisle as the mirror pieces). Then I tied all my ribbons on... that's it! So easy!! 

A few tips for you: 
I used approximately 1 to 3 yards of each ribbon.
Push the tied ribbons close together as you're working.
Trim the ends as you go; don't wait to trim them all at the end.
Use a good amount of the wider ribbons first; it's much easier to fill in with skinny ribbons.
Try to use a variety of ribbon textures (satin, twill, grosgrain, scalloped edges) on your wreath for visual interest.
Mixing solid, striped, stitched, and dotted ribbons of varying widths is fun!
If you are using Pleated Satin Ribbon, pull gently when tying.
Ribbons with a heavier stiffness hold up to being cut longer; floppy ribbons should be cut shorter.

I bought more than 1 hoop because I have plans to make more. I will definitely create a Ribbon Wreath for Christmas... what else... oooh! Fall colors would be pretty!!  :}  What colors do you think I should try next?


Pin It!

Tuesday, February 28, 2012

Technique Tuesday

Happy Tuesday! It's the last Tuesday of the month, so that means it's time for my Technique Tuesday class. I have a card to share with you today that's actually from my last technique class (Oh, Scrap), as well as a sneak peek at one of tonight's cards.
Scraps of Designer Series Paper and card stock are perfect for small layers on your cards. You can add interest to each layer with texture, such as tearing along the edge, or by stamping right onto your DSP.

Tonight we will be working with the Framelits and Edgelits. Here's a sneak peek at one of the cards:
 Looks like fun, right??? I look forward to sharing our projects with you later this week. Have a wonderful day!!  :}

Pin It!

Monday, August 1, 2011

Hostess Club

I have been stamping like crazy this past week! I'm almost done with my "Make & Take" projects from Convention. I never finish all of my projects during the Make & Take session, but this year... well, I didn't complete one single thing! I had an enjoyable chat, though ;)
Today I am working on the project for my stamp club that meets tomorrow night. As I started working, I realized I forgot to post the July project. We made a cute little magnet:


Using the Big Shot, we cut Magnet Sheets, Flirtatious Specialty DSP, Pretty in Pink card stock, orange tulle, Flirtatious Fabric, and Melon Mambo Textured card stock on the Fun Flowers Bigz L die. The layer of Pumpkin Pie card stock is punched with the Doily Triple Layer punch. The sentiment from Fabulous Phrases is stamped in Melon Mambo ink onto Pretty in Pink card stock.

Here's a view of the back:


A little tip- Trim your magnet sheet to a "square" slightly larger than the shape your are die-cutting. Then peel off the paper backing and adhere your DSP "square." This way you cut both at the same time, and don't have to try to line everything up.

Well, I'm off to finish up the August club project. You can purchase supplies for this project any time from my online store. Don't forget the online only Clearance Rack! :)

Pin It!

Wednesday, April 20, 2011

Melon Mambo

Melon Mambo is a great pink that was a previous 'In Color'. It worked it's way into the core colors during the color renovation, and plays happily with the other hues in the Brights Collection :)
The "Dynamic Duo" colors are Melon Mambo and Pink Pirouette. I really like these 2 pinks together :) The card base is dry embossed using the Elegant Bouquet Embossing Folder and the Big Shot. I also used the Big Shot to die cut the Scallop Square. I used markers to ink the cake image from the Tag Alongs stamp set. The heart on top of the cake and the center of each dry embossed flower have a sprinkling of Dazzling Diamonds Glitter :) You can currently find the Pink Pirouette 1-1/4" grosgrain ribbon in the Clearance Rack for a great bargain.


This scrapbook page uses the colors in the "Creative Combination": Melon Mambo, Daffodil Delight, and Tempting Turquoise. I created this page on Stampin' Up!'s amazing software... My Digital Studio. It was super easy to create. If you have purchased My Digital Studio, and would like to know more about using it, I am teaching a class on May 22nd.
Click here to see a card and bookmark using the "Creative Combination."

This 3x3 card uses the "Sweet Set" colors: Melon Mambo, Old Olive, and Elegant Eggplant. Circle punches and the Scallop border punch made this card very easy and quick to put together. The Just Believe stamp set and 1/8" Taffeta ribbon get frequent use in my stamp room :)

Pin It!
Related Posts Plugin for WordPress, Blogger...