Showing posts with label Garden Green. Show all posts

Sunday, April 28, 2013

saying farewell to favorites

While I do get super excited when a new Stampin' Up! catalog is about to start, sometimes it's hard to say goodbye to some of my favorite retiring products. The Build a Blossom stamp set and Blossom Petals punch are two coordinating goodies I'm having trouble letting go of. They will most likely make their way into my "vault."  :} 
I like how you can make a special, elegant flower that's sure to cheer anyone up! The stamp set has both flower and leaf images that fit perfectly in the punch. 
When assembling the flower, I like to punch out a scrap circle to have a base for adhering the petals. 
One of my favorite flowers to make with these goodies is a poinsettia. It looks nice on cards, scrapbook pages, and gifts!

And buried in my computer files was a video tutorial I made a while ago showing you how easy this is to make! 
Don't you just want to make some right now!!  ;)  I love how amazing the flowers turn out. Make a few for your friends and they will think you are the craftiest person they ever met.  :}  
Be to to shop for all of your favorite retiring goodies before they are all gone!

Pin It!

Saturday, December 1, 2012

another quilt card, and more fun!

Since I know how much you just loved yesterday's quilt card, I thought I would share another one with you! 
This is one of my Christmas projects for Tuesday's class at the bakery. There are so many things I love about this card. For one thing, I love the greeting (More Merry Messages). It says exactly how I want others to feel - happy! And it's so... British.  :}  Perfect for a Christmas card since the sending of Christmas cards originated in England.
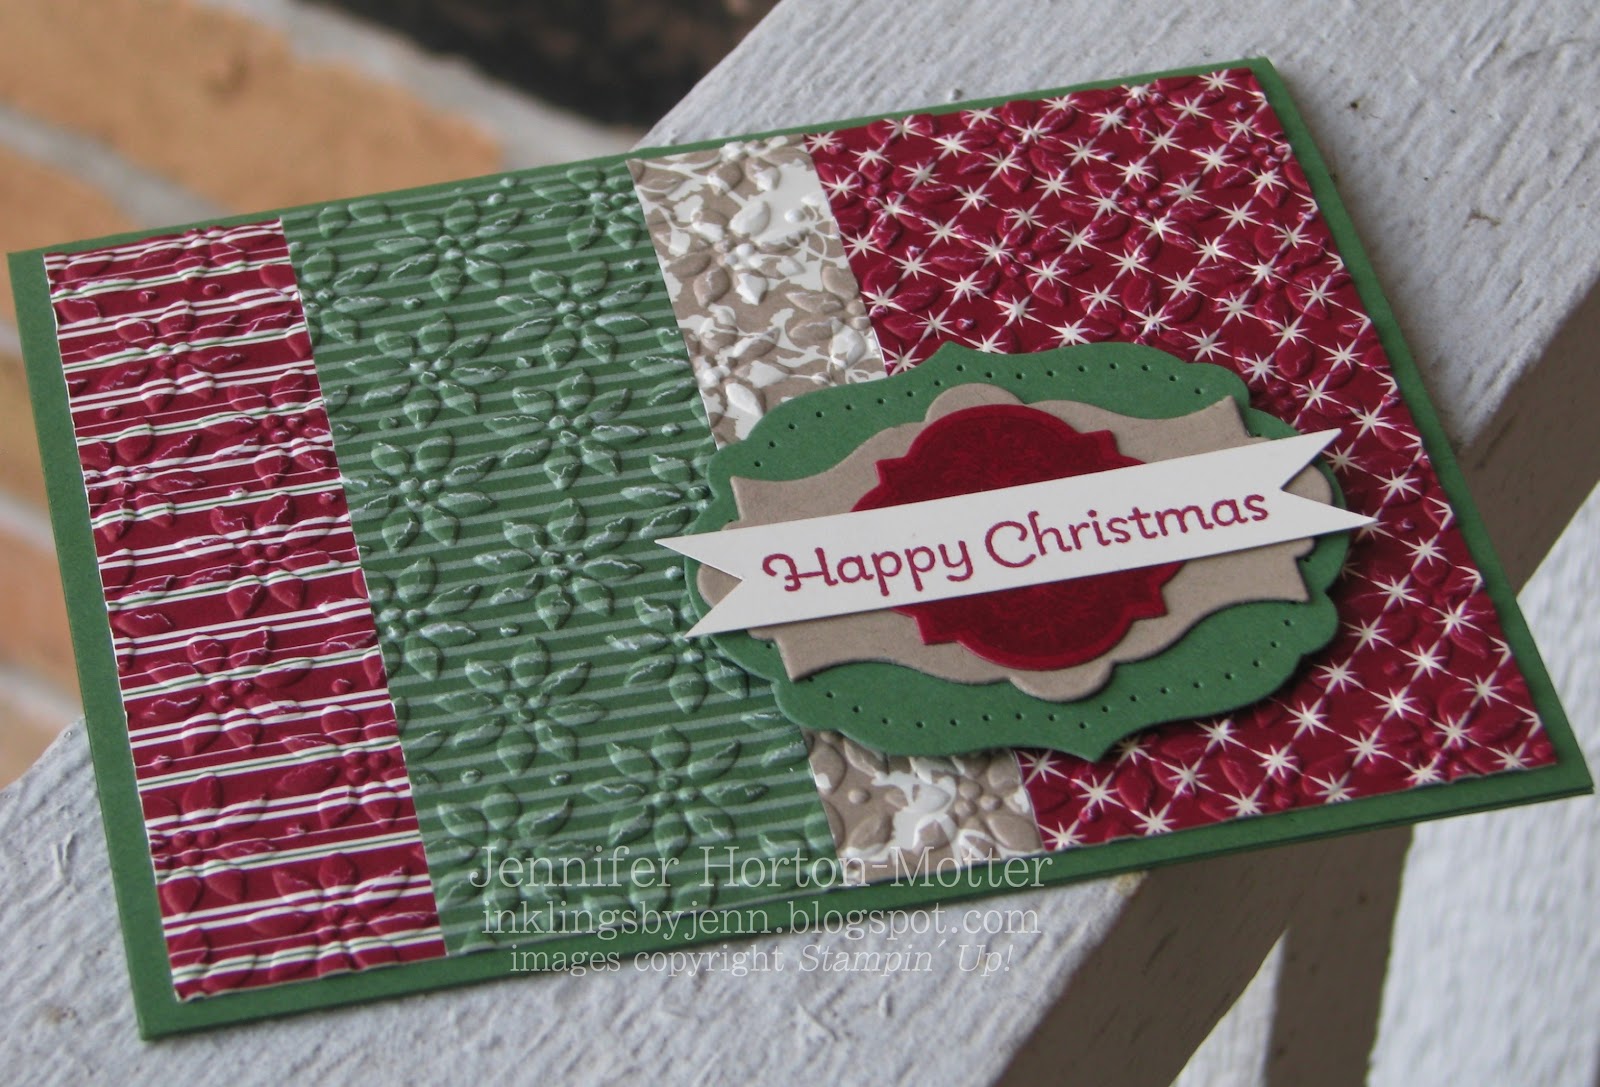
After adhering the four strips of DSP to a 4"x5-1/4" piece of Very Vanilla card stock, I gave the whole layer a "quilted" look - and feel! - by dry embossing it with the Petals-a-Plenty Embossing Folder
I die-cut a scrap of Garden Green card stock with one of the Framelits in the Labels Collection. Then I used a template from the Festive Paper Piercing Pack to add the pierced details.
Apparently I tried to use all of my Framelits on this card! I used two other sets to complete my layered focal point... one of the Apothecary Accents Framelits for the Crumb Cake layer, and the smallest from the Window Frames Collection (after stamping) for the Cherry Cobbler layer.

I hope all of you have had an enjoyable Saturday so far. I've had a great day with my boys! We woke up to find that "Elfie" had returned to stay with our family for December. 
And, he brought very cool Advent calendars with him - yay!! I'll bet he was planning on writing us a message on the memo board, but had a hard time finding a dry-erase marker  ;) 

We also started a new family tradition this December - a family Advent calendar. Each day, we will spend time together doing the activity stated on that particular day's card. I created all of the cards as a swatchbook using MDS2. (We will be looking at them on my computer until the printed version arrives!) I'm leaving space on some of the cards to add small photos and journaling after we complete the activities. 
 I created a simple swatchbook cover that includes the year... 

 ...and here is the page for December 1st.  Not only will we have fun enjoying the Christmas season together as a family, we will have a mini scrapbook album, too!

I'm looking forward to sharing the rest of our family activities with you. Do you have any special Christmas traditions that you love sharing with your family? 

Pin It!

Tuesday, November 27, 2012

Lovely As a Christmas Tree

I'll bet you have a few "oldies but goodies" in your stamp stash. You know, the ones that are just so perfect... too good to ever part with. For me, Lovely As A Tree is that stamp set. It's a classic! And that's why it works so well for a traditional Christmas card. 
Remember this template from the vintage Christmas card? It's such an easy card layout that we used it on two cards in my class at the bakery
For the background, I used a layer of Cherry Cobbler Core'dinations card stock. It adds just a hint of texture to my card. I chose not to add another layer in the background, allowing more of the Garden Green card base to show. 
The pine tree is stamped in Garden Green ink onto a 2"x4" layer of Whisper White card stock. My greeting (Petite Pairs) is also stamped in Garden Green. The 3/8" Taffeta Ribbon is the perfect compliment to this card. 

Don't you just love Garden Green and Cherry Cobbler together? I'm using this color combination in another class at the bakery on December 4th. I'd love for my local stamping friends to join me
 
There's a sign up sheet inside Wildflour Artisan Bakery & Cafe (256 West Main St, Decatur). If you're not too full after indulging in some sweets, be sure to check out the new renovations in the Root Cellar! 

Pin It!

Monday, November 12, 2012

how about a card sketch on this chilly day?

Oh my goodness!! It's 32ยบ outside right now!! Quite a change from playing outside with the kids yesterday... BRRRRR! Well, if it's going to be this cold outside, I might as well post a Christmas card! 
To "dress up" the Crumb Cake layer, I added two score lines - easy peasy! The sentiment (Wacky Wishes hostess set) is stamped in Crumb Cake ink. 
I stamped the ornament images (Ornament Keepsakes stamp set) in Crumb Cake, Garden Green, and Cherry Cobbler ink, and then die cut them with one of the Holiday Ornaments Framelits.

Don't you just love making quick, simple Christmas cards?! This layout is a "go to" for me when I want a clean design that I can put together in minutes. And because I love you all, here's the card sketch... 
Don't forget to "Pin It" to save for later! And stay tuned later this week... I'll be sharing a special card using this same template. Have a fabulous Monday!!  ;


Pin It!

Thursday, September 27, 2012

Christmas "Mojo"

As I've said before, I'm not sure my boys know in which order the Fall and Winter holidays arrive on the calendar. Every year, around the release of the new catalog, my stamping space becomes a flurry of Christmas, Halloween, Thanksgiving, and  Fall- & Winter-themed projects. Pretty soon there will be some Valentine's Day thrown in as well! I love it though... it's nice to spend so much time "celebrating" every holiday!  ;) 
When I saw last week's Mojo Monday sketch, I immediately needed to make a Christmas card. Now, if only I had squeezed in some time last week to make the card! Oh well... better late than never!
stamp set: Petite Pairs
ink: Cherry Cobbler, Garden Green
DSP: Festival of Prints stack, Regals stack 
1" Square punch.   Festive Paper-Piercing Pack.
Window Frames Framelits.   Square Lattice Embossing Folder.
Naturals Designer Button.   Linen Thread. 

I really liked the card Mary Fish made for the sketch - I loved how she used the Window Frames Framelits for the "circle" layers. And the piercing adds the perfect little detail. 
I've been working a lot lately on the Christmas card class I'm teaching as a fundraiser for the Macon County History Museum. The quilters who meet there are interested in attending, so I sorta have "quilts" on the brain  :}  I can't wait to share with you the cards I designed for that class - they're really pretty!
On this card, I used the Flying Geese quilt pattern for my "quilted" focal point. It was a little time consuming, but easy. Using the 1" Square punch, I punched out 4 squares of DSP and 4 squares of Very Vanilla card stock. Then I cut each in half diagonally. First, I adhered a vanilla triangle to the top-left corner of a piece of copy paper (2x4"). Then I added a blue DSP triangle to "complete" the fist "square." The other blue triangle and a vanilla triangle followed, which completed the top row of the "quilt." After every piece was adhered to the copy paper, I dry embossed the layer using the Square Lattice Embossing Folder for a quilted fabric appearance. A layer of Early Espresso card stock behind my "quilted" focal point really helps draw attention to this beautiful quilt-card technique! 

Well, happy holidays ;)  Be sure to come back tomorrow for a Halloween project!  

Pin It!

Tuesday, August 28, 2012

green and purple

And so the crayon gifts continue... 

Green Day
A big "thank you" to my Mom for creating this darling froggie to hold the green crayons! Isn't he adorable???  :} 

Purple Day 
And a big "thank you" to the Beautiful Butterflies Bigz Die for making this gift super cute and super easy to create!


Pin It!

Wednesday, May 23, 2012

Ribbon Wreath

I finally finished a project on my "really-really want-to-make" list!!! For those of you who have a 2010-2011 SU catalog handy, my inspiration comes from the ribbon wreath on p190. It's not like it takes a long time to make a ribbon wreath - I finished in a few hours. I probably would have finished sooner if I didn't take breaks to draw outside with chalk, lose a lightsaber battle, and have a snack in the shade... but those are some of the best parts of working from home  :}  It's just one of those projects that kept getting pushed to the side, but I had time today since I didn't want to get a ton of supplies out while the drywall was being sanded. For this project, all you need is a hoop, ribbon, and Craft & Paper Scissors. I have two of these high quality scissors - one for paper, and one for fabric and ribbon.
Isn't it pretty??? Since I have several miles spools of ribbon in my craft room, this is the perfect project for me! All of these ribbons are from Stampin' Up! ... some are current, some are old, some are really old. I chose a variety of pinks, yellows, oranges, and greens for a bright, summery look.

I started with a hoop (approximately 13" diameter) that I purchased from my local craft store (I think I found it in the same aisle as the mirror pieces). Then I tied all my ribbons on... that's it! So easy!! 

A few tips for you: 
I used approximately 1 to 3 yards of each ribbon.
Push the tied ribbons close together as you're working.
Trim the ends as you go; don't wait to trim them all at the end.
Use a good amount of the wider ribbons first; it's much easier to fill in with skinny ribbons.
Try to use a variety of ribbon textures (satin, twill, grosgrain, scalloped edges) on your wreath for visual interest.
Mixing solid, striped, stitched, and dotted ribbons of varying widths is fun!
If you are using Pleated Satin Ribbon, pull gently when tying.
Ribbons with a heavier stiffness hold up to being cut longer; floppy ribbons should be cut shorter.

I bought more than 1 hoop because I have plans to make more. I will definitely create a Ribbon Wreath for Christmas... what else... oooh! Fall colors would be pretty!!  :}  What colors do you think I should try next?


Pin It!

Thursday, February 9, 2012

a fun day!

I've had so much fun in my craft room today! It all started yesterday when I was fooling around doing artistic research on Pinterest. I kept seeing all these great colors I wanted to play with. Sooo... I made a board called "Color Inspirations," and I've been playing around with some of the combinations. Oh my goodness, this is so fun! For those of you who have been reading for a while, you know how much I love playing with color, and how much I LOVE Stampin' Up!'s color palette. (If you'd like, you can do a search for Color Coach to get an idea.) Today's post is a card using an unusual color combo - very "outside the box" for me:
Garden Green, Lucky Limeade, Very Vanilla, and Basic Black - wow! 

I used two Sale-A-Bration stamp sets on this card. The images are from Fresh Vintage and the sentiment is from Elementary Elegance. You can earn your free Sale-A-Bration goodies by shopping from my website. Something you might want to add to your cart is the Paper Doily Large Sizzlit. I am sooooo loving this doily, which I trimmed down to work on this card. Here's a close-up of all the yummy details:

Like the layout on this card? I do!! It's from the Create With Connie and Mary blog - Sketch Callenge #188. And speaking of the Connie & Mary blog... guess who got picked as one of the top 3 in last week's color challenge??? ME!! Woohoo! That was a great way to start my day  :} 

Just curious... do you have a favorite color combination? How about a combo that you find hard to work with? Any combinations you'd like me to try? - just leave me a comment and I'll give it a whirl.
 

Pin It!

Saturday, December 31, 2011

Goodbye 2011!!

I have to say I've never been so happy to see a year end. This has been a difficult year for my family. Things are looking better for 2012, so bring it on!
Apologies for the long break in blog posts. I had the opportunity to spend some quality time with family :)
I have a few Christmas projects to share that I didn't get a chance to post yet...


I have some very lucky customers whose family members contacted me for gift certificates. Of course I had to wrap them all pretty :)
The first two are actually Crumb Cake envelopes that I added DSP, ribbon, punched pieces, etc. to decorate. The last picture is a small white lunch sack that I covered with some (retired) DSP and added some ribbon, ornaments, and punched tag to finish it off.


As I said earlier, 2011 was a yucky year for my family, which really dampened my mood for sending out Christmas cards. I received so many nice cards in the mail, which made each day a little brighter, but I just couldn't get into the "swing" of things to get mine done. I did make a handful, and managed to get pictures of three cards :)  Doesn't Cherry Cobbler make the most wonderful cards??!!

I hope all of you had a nice Christmas spent with family and friends. Best wishes to everyone for a fabulous 2012!!

Pin It!

Friday, December 16, 2011

Tag... you're it :)

Have you started wrapping your Christmas presents yet? I have!!  :P 
If you haven't yet, grab your favorite Christmas CD (wait, does anyone besides me still use their CDs anymore???) and get crackin'. Here are some cute tags to get get you in the mood:
I used my Big Shot and Two Tags Bigz Die to cut the Garden Green and Cherry Cobbler card stock.  Both tags are on the same die, so I just put a piece of each color on the die and cut once :)

Left tag:
After adhering a small chocolate bar inside, I wrapped a piece of Cherry Cobbler 1-1/4" Striped Grosgrain Ribbon around the folded tag, slipping the end that's in front under the slit cut by the die. Then I tied on some Garden Green 1/4" Grosgrain Ribbon to keep it closed. The snowflake image from the Dear Santa stamp set is stamped in Marina Mist and punched out with the 1" Circle punch, then layered over more punched circles. After I took the picture, I decided to add a bit of Dazzling Details to the center of the snowflake, which looked pretty cute  :)

Right tag:
I stamped the "merry" sentiment from the Tiny Tags stamp set in both Garden Green and Cherry Cobbler, then punched them out with the Jewelry Tag punch. After piercing a tiny hole in each tag, I tied them to the "m" (die cut using a die from Alphabet Simple Letters) with Cherry Cobbler Baker's Twine. I added a little twine to the Garden Green button, too. The Early Espresso 3/8" Quilted Satin Ribbon adds a nice touch to tie the tag to the perfect gift  :)

Have fun wrapping all of your presents... and don't forget the hand-stamped tags!!

Pin It!

Tuesday, December 13, 2011

Simply Scored background

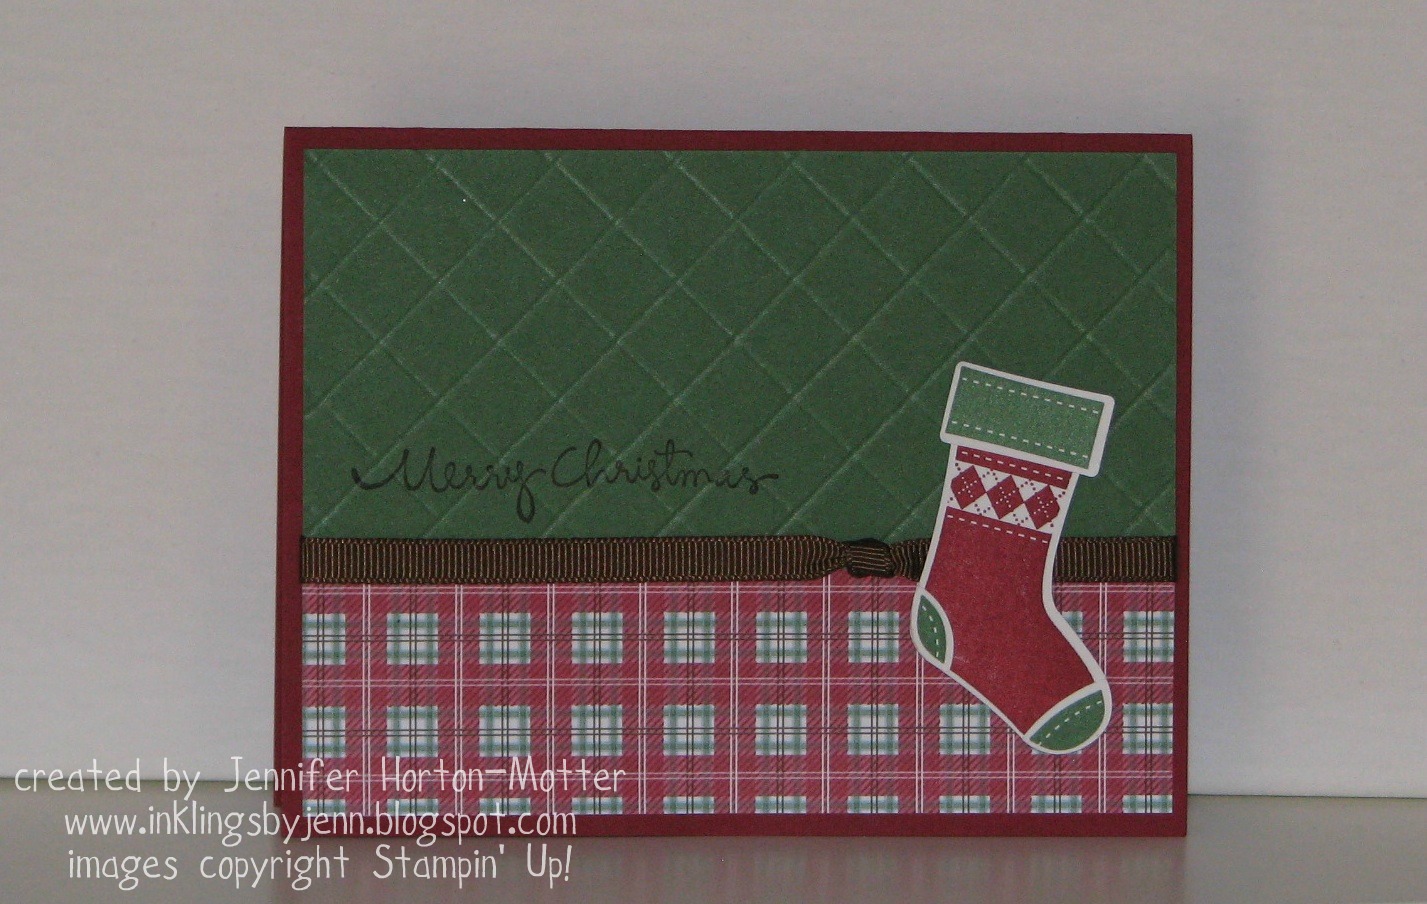
While making a card using the Faux Tile technique a while ago, I thought it might be nice to score a plain piece of card stock to use as a background. I played around with a few things, and this is what I came up with:
 Card Stock: Cherry Cobbler, Garden Green, Whisper White
DSP: Frostwood Lodge                 Ribbon: Early Espresso 1/4" Grosgrain
Stamp Sets: Stitched Stockings, Christmas Greetings
Punch: Stocking Builder

I stamped the sentiment in Early Espresso ink before scoring the Garden Green card stock. To get the scored lines at an angle, I made a template. First I cut a chipboard square, and then I cut it in half on the diagonal.
With the  template in the corner of my Simply Scored, I scored every 1/2 inch. Since the card stock edge is not up against the ruler, you have to count the grooves - every fourth line. After scoring the card stock from side to side, I rotated it 90 degrees and scored again.

That's it- pretty simple! It kind of reminds me of a warm quilted jacket, which (in my mind) goes nicely then with the Frostwood Lodge DSP... every time I use that DSP on a project, I want to grab some warm flannel PJs and stamp the night away  :)  Hmmm... maybe that's what I'll do tonight!

Pin It!

Thursday, December 8, 2011

Candy Jar

For the Scrapbook Club December project, I chose a cute little candy jar. It looks cute on your desk at work, or makes a nice little gift for a co-worker, teacher, mail carrier, etc.
You might recognize the shape of this jar... maybe you have a few in your fridge??  :)   I save the empty jars and have my husband clean off the "goo" left behind when I peel off the labels. Then I run the jars and caps through the dishwasher.
For this jar filled with peppermint candies, I wrapped a strip (8-1/2"x1-3/4") of Frostwood Lodge DSP around the jar, and secured the end with Sticky Strip. I stamped the From Santa ร€ la Carte stamp in Garden Green ink onto Garden Green card stock, punched that out with the 2-3/8" Scallop Circle punch, and attached that piece with Dimensionals. I cleaned the stamp, and then inked it in Cherry Cobbler. Before I stamped it onto Whisper White card stock, I colored the words with the Early Espresso marker. I punched out the center of the image with the 1-3/4" Circle punch, and attached that piece with more Dimensionals. Then I added Dazzling Details to Santa's hat.
To cover the logo on the cap-
I inked the words from one of the stamps in Easy Events with the Early Espresso marker and stamped onto Cherry Cobbler card stock. Then I punched that out with the 1-3/4" Circle punch, and attached that piece to the cap using Sticky Strip. (How nice of that coffee company to make their caps the same size as one of my punches!!) Next I stamped three candies from Jolly Bingo Bits in Cherry Cobbler and snipped them out. One is attached flat, and two are attached with Dimensionals.

So that's one gift done... on to the rest!  :)

Pin It!

Monday, November 14, 2011

A little Christmas Card

Hello stamping friends! I am super excited for tonight... Kimberly's workshop! Kim is very new to stamping, so I'll have to go easy on her  ;)
Here's one of the Make-and-Take projects for tonight:
This 3x3 card is so cute! The base is Cherry Cobbler, and the Garden Green layer is die cut using the Perfect Pennants Bigz L die. I punched a layer of Crumb Cake textured card stock with the 2-1/2" Circle punch, crumbled it, and sponged on some Crumb Cake ink. The cute little stocking from Stitched Stockings is stamped in Cherry Cobbler and punched out with the Stocking builder punch. And how cute is that Mini Jingle Bell tied on with Cherry Cobbler Baker's Twine??!!  :)
Well, bye for now... I'll share the rest of the projects from tonight's workshop with you later this week. Happy stamping!!

Pin It!

Wednesday, November 9, 2011

On Dasher...

I often wonder if my boys get confused from August through December. I spend so much time in the late summer and then into fall making Halloween, fall, Thanksgiving, and Christmas projects... all jumbled together. Do they really know when the holidays actually take place???  :)
Anywho, I have a Christmas card to share with you today. This was one of the cards from my October Technique Tuesday class - Fun Folds.
 The finished card (closed) measures 4"x4".

Slip the "belly band" off to open the card.

This is a "double Z-fold" card, which is super easy to make, and super cute. Start with a 4" x 12" piece of card stock. Score at 2", 4", 8" and 10". Fold and embellish... that's it! I stamped Dasher in Early Espresso onto Whisper White card stock, then I added a little detail to some spots in his antlers using Moonlight Smooch® Pearlized Accent Ink. The sentiment from Christmas Greetings is stamped inside the card using Early Espresso ink.
Thanks for stopping by... have fun stamping whichever holiday you are focused on right now  :)

Pin It!

Thursday, March 24, 2011

Garden Green

Garden Green has always been a little tricky for me... not sure why. I guess I just don't connect as well with this color. I'm glad I have my Color Coach to guide me :)
My goal for today's cards was to use a stamp set I just love, and HAD to buy as soon as I saw it over a year ago. I still love Fox & Friends, but don't use it enough. So, I challenged myself to use it on all of today's cards... while at the same time using up scraps from my scrap drawers. (Hence, the retired ribbons.) Other than the 2 standard-sized card bases, all the other pieces came from my scraps. To keep things simple, I stuck with basically the same layout for each card.

The "Dynamic Duo" colors are Garden Green and Wild Wasabi. I used markers to ink my stamp so I could have both colors on my turtle :)


The "Creative Combination" colors are Garden Green, More Mustard, and Chocolate Chip. After stamping the lion onto the Whisper White card stock, I inked and stamped his face two more times and then cut out the mane and face using my snips.


The "Sweet Set" colors are Garden Green, Bashful Blue, and Tangerine Tango. I used the Perfect Polka Dots Embossing Folder to add texture to the Garden Green background.

Pin It!
Related Posts Plugin for WordPress, Blogger...